Sunday 19 February 2017

Vegan Oreo Cheesecake


First I separated a packet of original and vanilla oreos, into cookies and cream (with a butter knife, don't use a sharp knife for this), so I could use the cookie for the base and the cream in the cheesecake filling. 
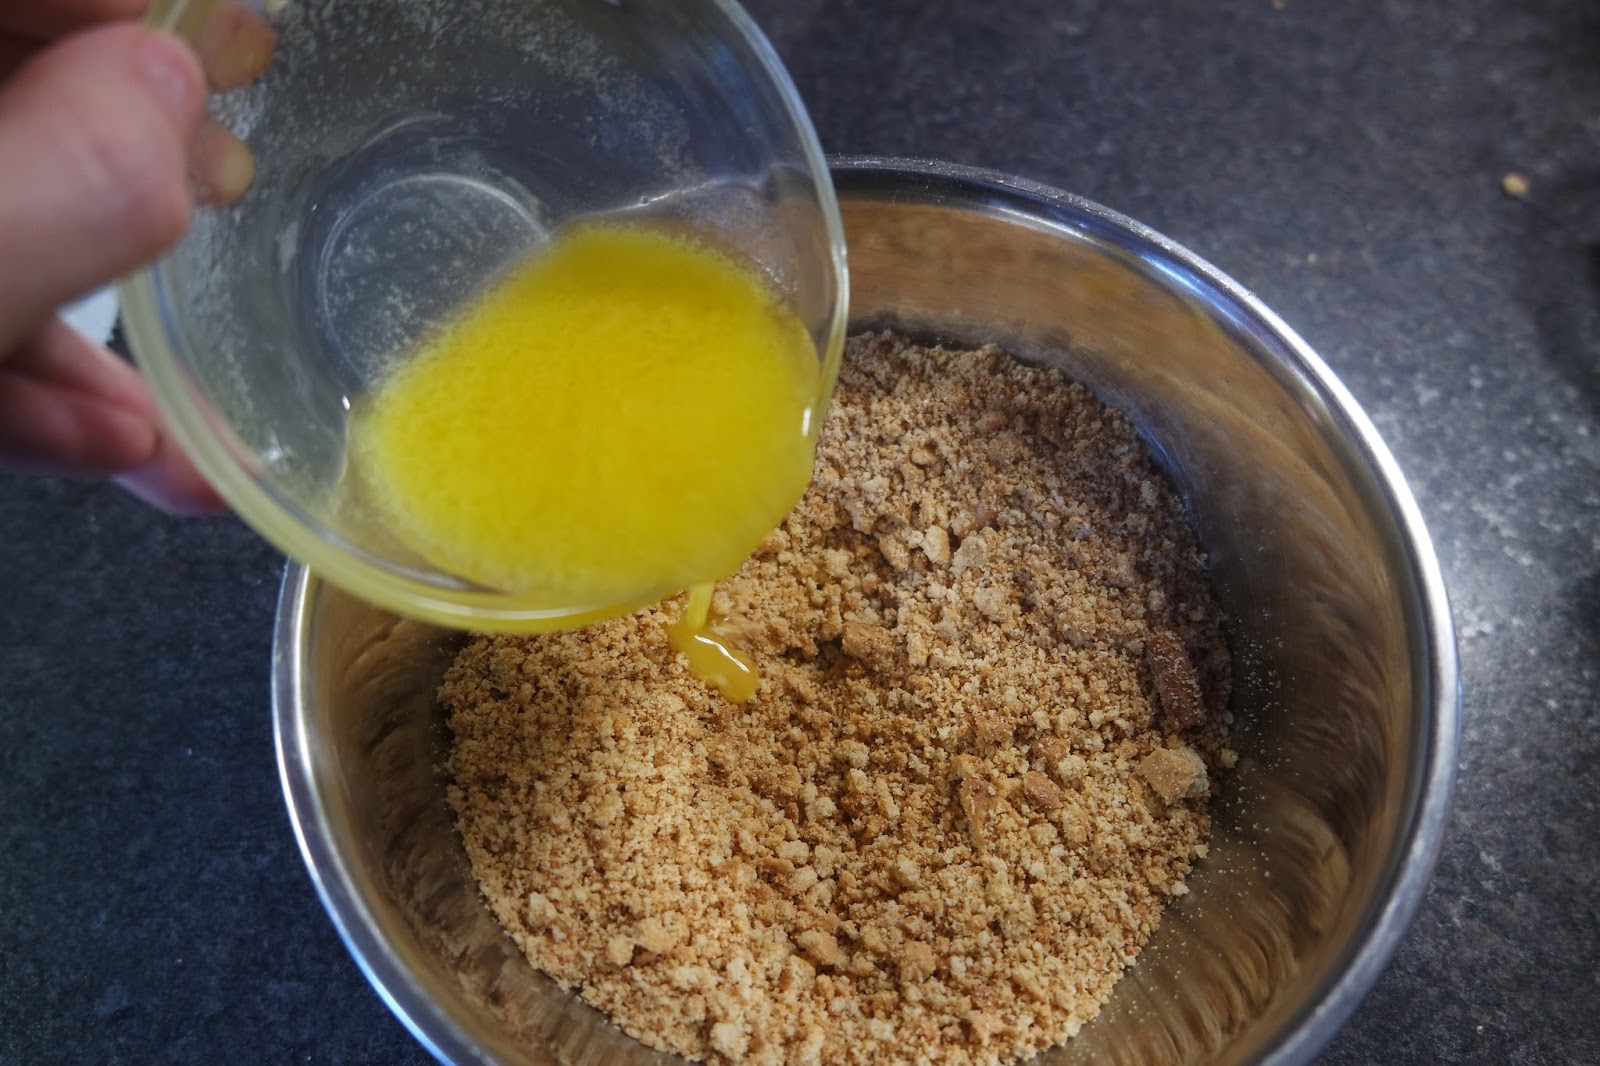
I then crushed most of the oreos (saved some for later) and digestive biscuits up in the blender and added approx 50g of vegan butter to bind the crumbs together for the base.
I then pressed the base into the cheesecake tray and left them to chill in the fridge while I moved onto the next step.
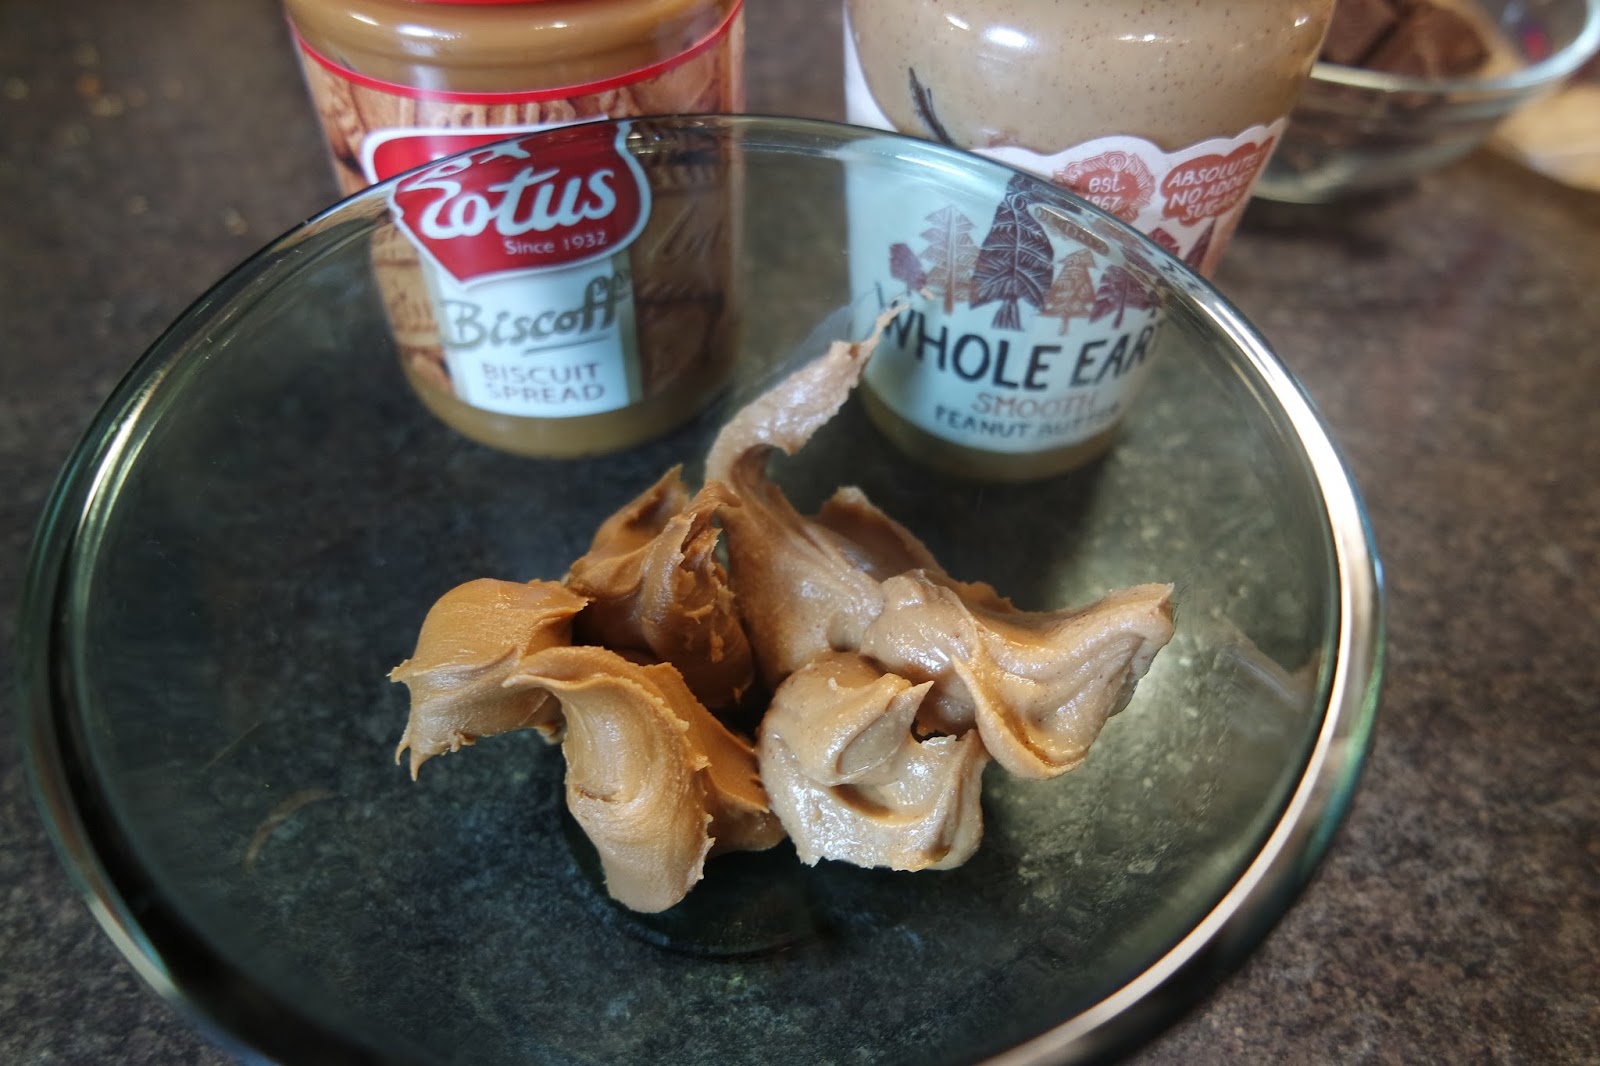
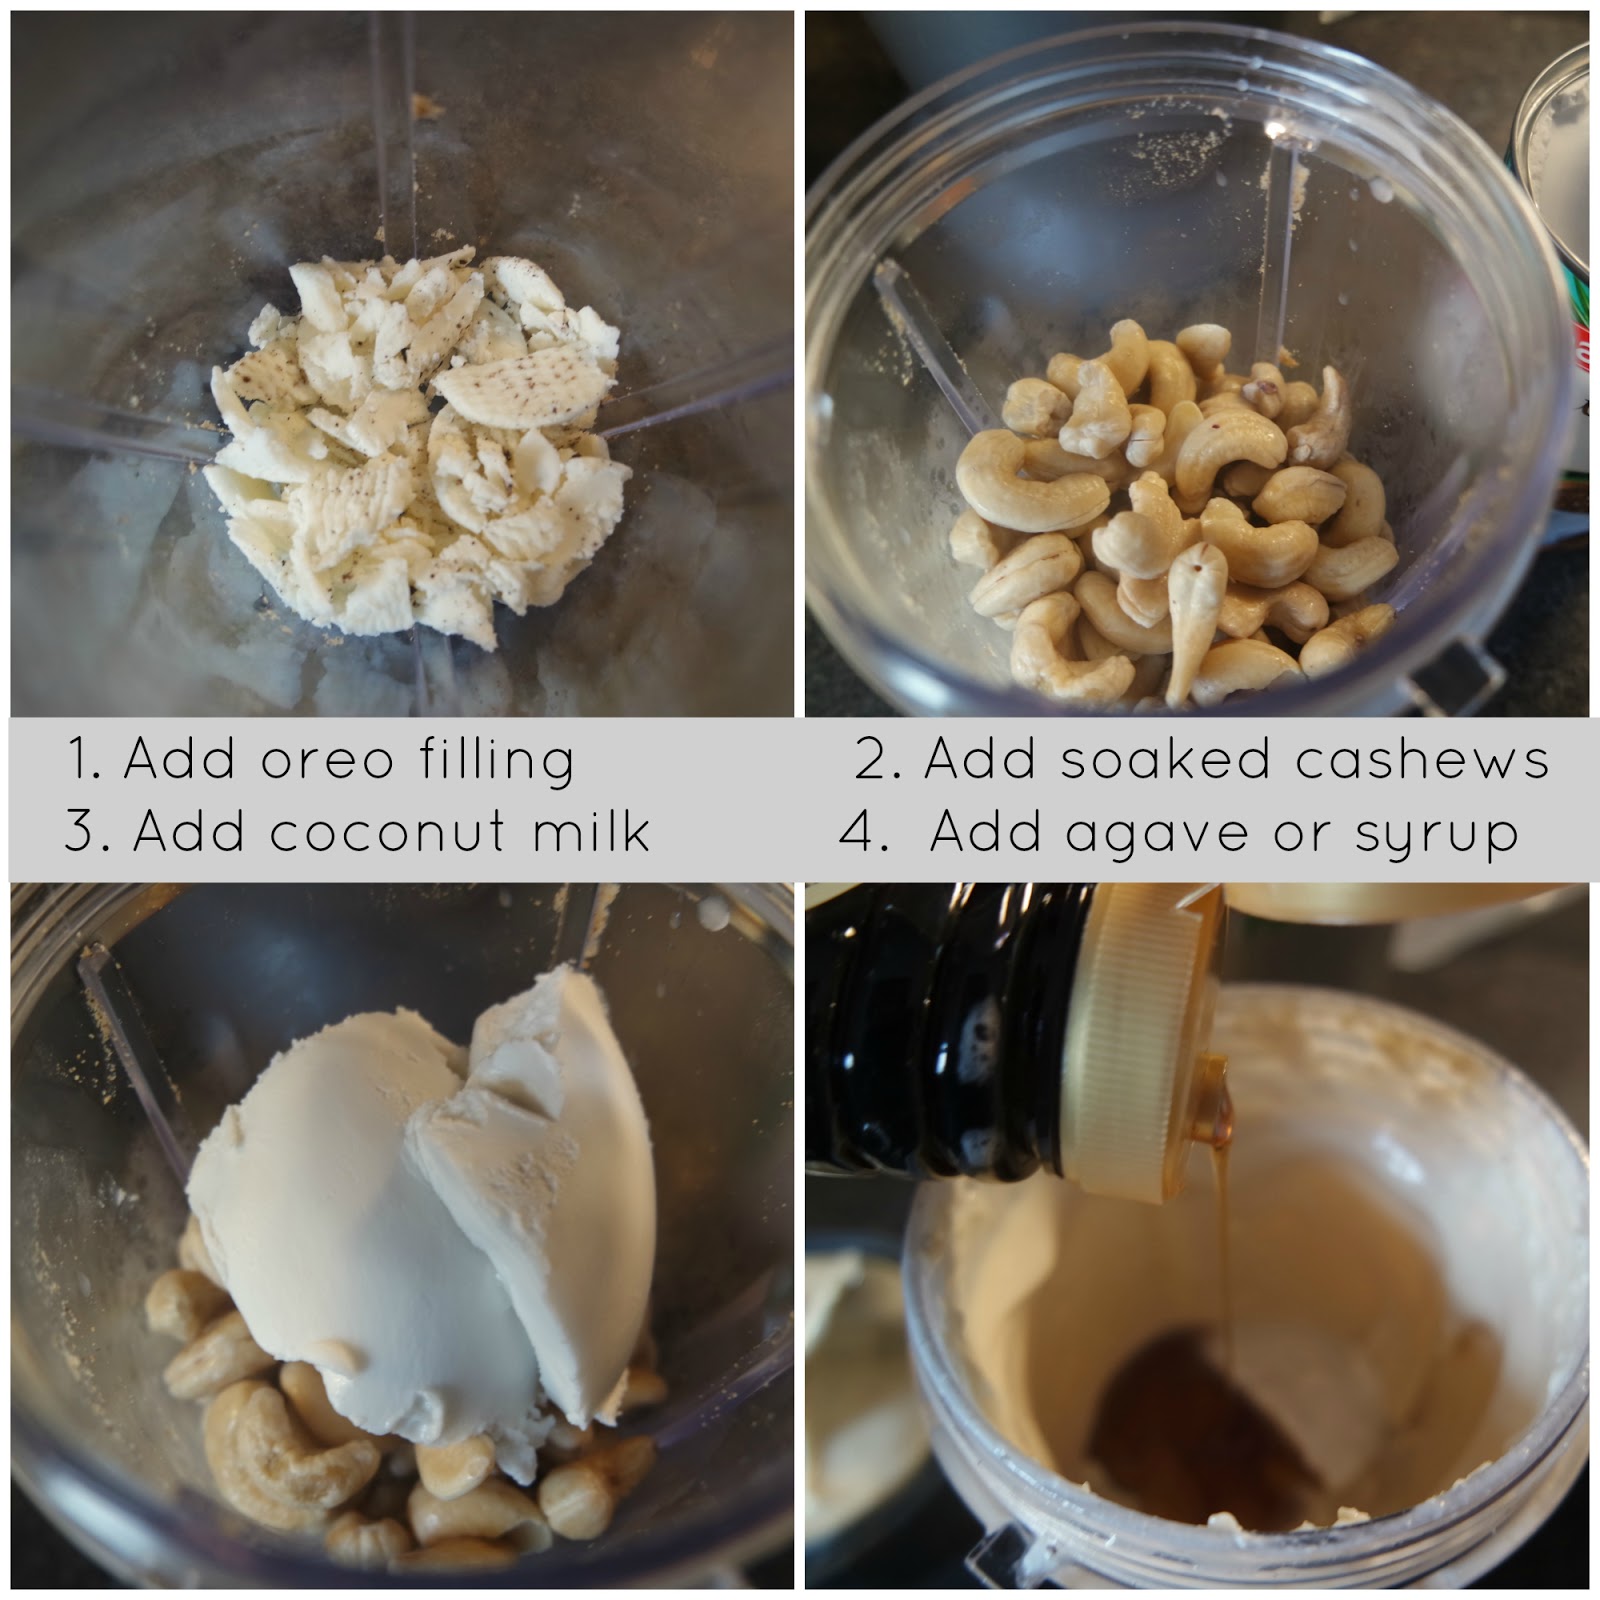
Next, for the base (I made 9 small cheesecakes), I blended the oreo filling, approx 180g of soaked cashews and 3/4 tin of coconut milk (use the thick cream that is on top of the coconut milk). After blending for 2 minutes, I added a few tbsp of sweetener and blended again, I used agave nectar and golden syrup but you can use one of the other. 
Once the filling looked to be the right consistency for cheesecake, I poured it on top of my bases and put them back in the fridge to chill for an hour. 
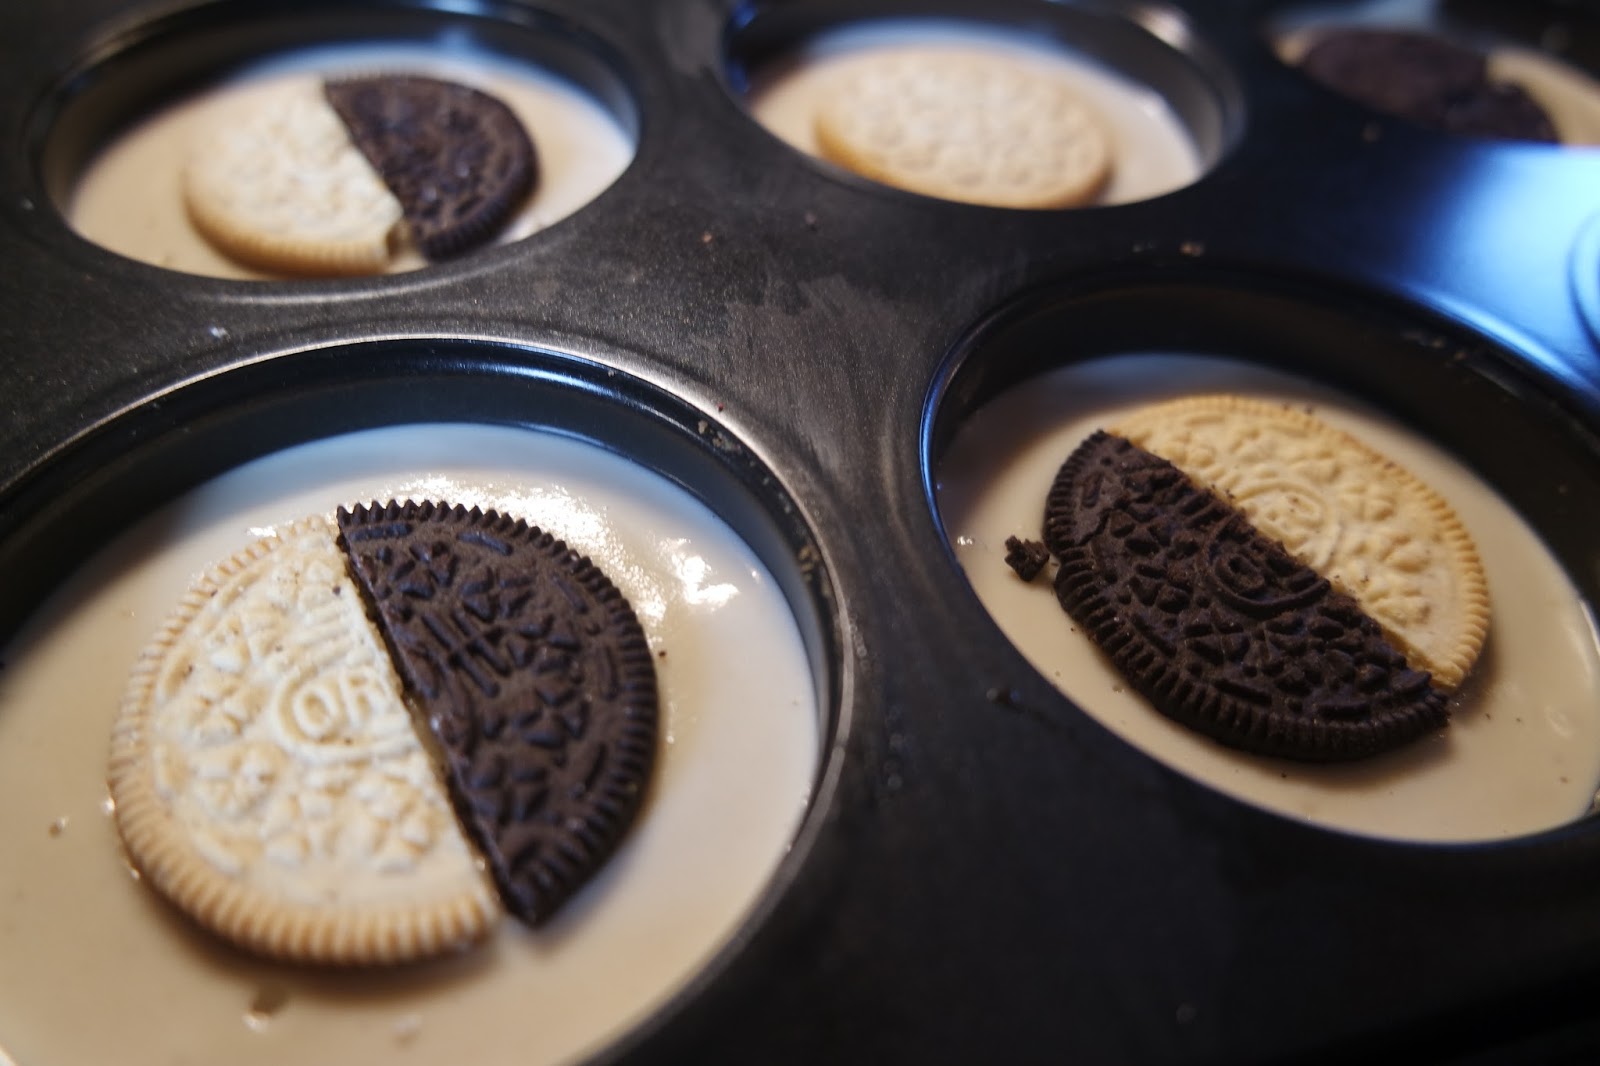
I waited for the cheesecakes to set before adding the finishing touches, so that the oreos didn't sink. I cut the biscuits in half to make a chocolate and vanilla topping then used what is meant to be a parmesan grater to rain some crumbs over the cheesecakes!
I set mine back in the fridge over night as I was going out, though let's be honest, when I got home a midnight snack was calling my name... They were delicious! My whole omni family also loved them, bonus!


Enjoy! x
Insagram: @vegankmb


Wednesday 15 February 2017

Crispy Vegan Millionaire Shortbread Recipe


I would usually use dates for a millionaire shortbread but I saw this instagram post earlier, using peanut butter and biscoff which seems like the best idea ever! So inspired by @theeasyvegan_ on insta, I made my own version. Here's what I did:

I crushed digestive biscuits in a bowl while melting butter and coconut oil together in the microwave. 
I added the butter and coconut oil to the crushed digestives to combine the crumbs then pressed that into a baking tray with the bottom of the peanut butter jar, it was on hand and seemed like it would do the job, ha. I put that to chill in the fridge while I made the filling.

For the filling I used Biscoff Biscuit Spread, Smooth Peanut Butter and Agave Sweetener (honey alternative), I don't have any measurements for you as I just eyeballed it, apologises I know that is very unhelpful but I never measure ingredients out, I just start with what I think is enough and keep adding if its not, in this instance I just kept adding more ingredients until it looked to be enough to cover the base, so it depends on the size tray you're making.
 I then poured that onto the base and again, put it to chill in the fridge while I did the next step.
 
ended up using a combo of different chocolate because I didn't have much left of each bar, I had Co-op's dark chocolate, Bournville and I added the Conscious organic raw chocolate orange and tangerine chocolate I received in my thevegankind subscription box, it was only a small bit but super rich chocolate so it made the chocolate have the perfect amount of orange taste.
I still didn't have enough chocolate, so I added coconut oil to thin the chocolate out, so I had lots more to spread around. I added most of the chocolate to the top layer but left a few spoonfuls aside for the next part.
I added cornflakes to the rest of the chocolate and mixed them 'til they were covered then put them into the chocolate layer.
At this point you'll probably just want to stick the spoon in and eat it already but hold on, I chilled mine in the freezer not only so it would be ready asap but the last time I made similar to this the base was a bit too crumbly, so I thought the freezer would set the base better. It worked out perfect. 

Now chop it up and get those instagram worthy shots... Or just eat it already! 

Enjoy x

Monday 13 February 2017

Vegan Oreo Mud Cake Jar (+ Vegan Egg Replacement)


Cake Jars, the best way to cary a cake on the go. Ok, I'm not sure thats what they were made for but I like that idea!


Ground flaxseed as an egg replacement: 

I got my ground flaxseeds from eBay - here £5.95 for 1kg.
I used 1tbsp ground flax and 3tbsp water for 1 egg, mixed and chilled in fridge for 10 minutes, so do this step first so the mixture can chill while you prepare the cake. 

I just followed the instructions and measurements for water, oil and eggs on the box which required 3 eggs but I think using the flaxseeds in replacement for 3 eggs might have been too much as my cakes were too soft inside, so next time I would only use the equivalent of 2. Or I would just try the cake mix and can of frizzy pop trick, which I hear works great in replacement of the water, oil and eggs and is probably the quickest/simplest method. 

This makes a more of an Oreo mud cake jar which you can dig to the bottom of and get all the delicious flavours but if you are wanting a neater cake jar with more definition between the layers. I made this one below with just even layers of cake and Betty Crocker vanilla icing, I would recommend a smaller jar if you're doing it like that. 
(Cocktail stick decorations were from a New Look bun case set but it would be easy to print something from Pinterest and DIY for a last minutes idea)


Happy Valentine's Day.
Enjoy x
Insragram: vegankmb


Sunday 12 February 2017

Vegan Chinese Style Chicken Curry Recipe

The perfect Chinese take away made from home. Cheap, simple and quick!

Put Quorn vegan chicken pieces in a frying pan, add Mayflower curry sauce powder and water, it has the recommended measures on back of box but I used a little less (75g power & 300ml water) for 2 large portions. 

Bring to boil then add onions, peas, mushrooms and tomatoes, I don't know if tomatoes were made to be put in a Chinese curry but I fancied adding a few, then leave to simmer for 10-15 minutes.

Serve on top of rice and you have a perfect meal (and a kitchen that smells like a Chinese take away!)


Enjoy x
Instagram: vegankmb


Saturday 11 February 2017

Vegan Valentines Peanut Butter Hearts Recipe (3 steps)

The perfect chocolates for valentines day, only 2 ingredients and 3 steps!
I made both peanut butter and biscoff chocolates but you could do one or the other.


  •  Melt chocolate in microwave for a couple of minutes, you can add coconut oil to thin the chocolate out but its not a necessary step if you don't already have coconut oil in the cupboard
  • Fill moulds half way then leave to set in fridge for 10 minutes


  • Add your peanut butter or biscoff on top of the set chocolate 
(I melted the peanut butter and biscoff spread in the microwave with a little coconut oil to make it a easier to pour into moulds but again, not a necessary step)


  • Fill the rest of the moulds with melted chocolate (I'm sure yours will be neater than mine ha, I was eager, ok..) and leave to set in the fridge for 30 minutes or put them in the freezer if you can't wait that long!


  • Run to the fridge and bust those chocolates out of the moulds!


This recipe is so simple and easy and they are so rich and chocolately that one is enough, so they might actually last you longer than an hour... they might. Enjoy x

Related Posts Plugin for WordPress, Blogger...